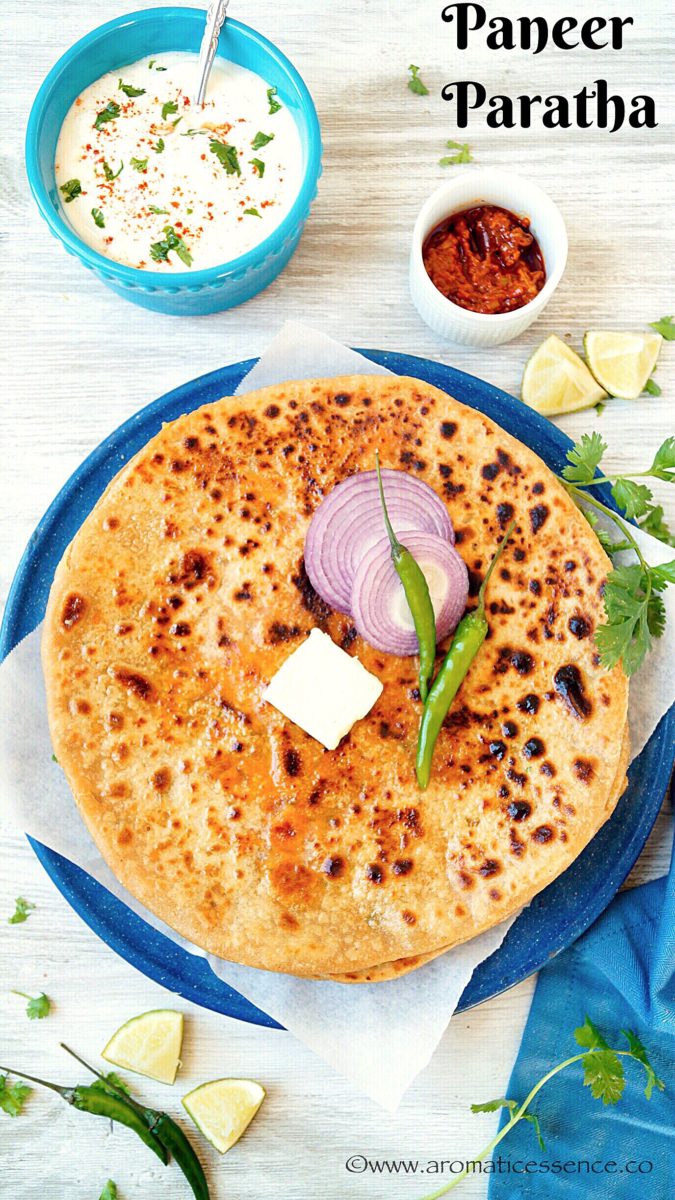
Paneer Paratha is a delicious North Indian, unleavened, whole wheat flatbread stuffed with a spiced crumbled paneer filling. Paneer paratha bread is wholesome and makes for a filling breakfast or light brunch.

Preparing a meal these days is a challenge for me with little K, all over the place. I mean I can’t keep her out of sight even for a second, coz I’d not know where she’d be! That mischievous twinkle in her eye and that notorious grin are super adorable though, makes me forget all her naughty antics 🙂
These days it’s all about quick meals, that are not just junk food, but nutritious and satisfying as well. I usually make one-pot meals or some quick noodles or stuffed parathas like this paneer paratha.
Table of Contents
HOW TO MAKE PANEER STUFFED PARATHA?
To make paneer paratha you will require a dough made with whole wheat, salt and some oil or ghee.
The paratha dough barely requires 5 minutes to come together and while that is resting, I quickly prepare the paneer stuffing which consists of some crumbled paneer and spices.
Once you have your dough and stuffing ready, start making your paneer parathas. Roll out a portion of the dough, spoon some paneer filling. Seal the dough tightly and roll it out. Like I’ve mentioned in my alu paratha post, the ratio of stuffing to the dough is important. Do not overstuff the dough or else the filling will come out while rolling. Then roast the parathas with ghee until you get some brown spots on both sides of the paratha.
VARIATIONS OF PANEER PARATHA
You can make different variations with the paneer stuffing, like;
- Add some potatoes for aloo paneer paratha.
- Or some finely chopped capsicum for paneer capsicum paratha.
- Make palak paneer paratha by using spinach puree to knead the dough.
- Add some grated cheese to the stuffing mix to make paneer cheese paratha.
SIDE DISH FOR PANEER PARATHA
Enjoy paneer ka paratha with curd, pickle or chutney of your choice.
I prefer using fresh homemade paneer for these parathas, the readymade ones are best left for curries. The homemade paneer stays nice and soft even on roasting the parathas, as opposed to the readymade paneer which kind of turns hard and dry. These also make a nice lunchbox option for the little ones. Most kids love paneer!
For my son, I’m very generous with the ghee used for roasting the paratha! That guy definitely burns off all that calories with his constant running around, so well it is worth it! I go a little stingy on mine, but still, do enjoy these delicious parathas with some pickle and yogurt! And that’s lunch sorted!
All it takes is a little practice and patience, and you will be a pro, dishing out tasty parathas in no time! It may seem like a lot of work, but it isn’t really. If you are a beginner at making parathas, I hope this pictorial will help you in your quest for making some good stuffed paratha! Taste the filling and feel free to adjust the spices as per your preference.

IF YOU ENJOYED THIS PANEER PARATHA, YOY MAY ALSO LIKE,
STEP BY STEP INSTRUCTIONS TO MAKE PANEER PARATHA | PANEER KA PARATHA
1.In a large mixing bowl, add whole wheat flour and salt. Make a well in the center, add oil. Add water in increments and knead to make a soft dough, approx 1 cup water. Cover with a damp kitchen napkin and set aside for 30 minutes.

2.To the grated paneer, add all the ingredients listed under for the paneer stuffing.

4.After 30 minutes, knead the dough for another 1-2 minutes. Take one dough ball, dust it in some flour, roll it to a diameter of 4-5 inches, place 2 tablespoons of the paneer stuffing in the centre.

5.Gather the edges and seal the dough in such a way that the paneer stuffing is well covered. You can pinch off excess dough. Place the stuffed dough seam side down.
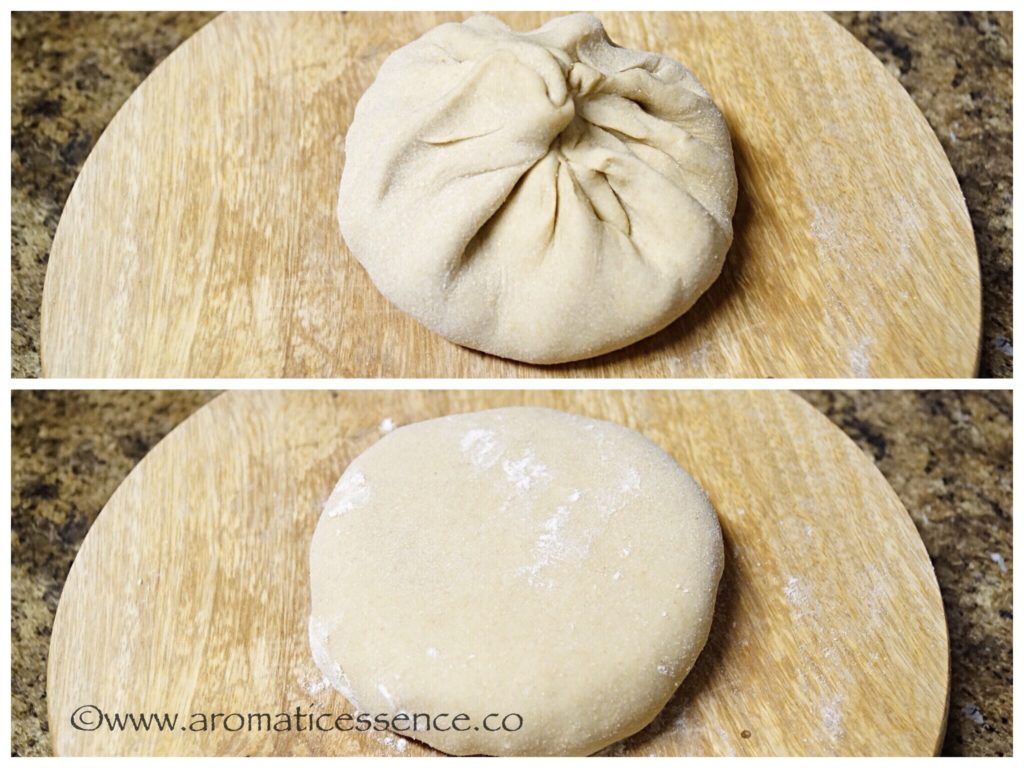
6.Sprinkle flour on the work surface, roll the ball to about 8 inches in diameter, ensuring that the stuffing does not come out.

7.Heat a tawa/cast iron skillet over medium-high heat. Dust off excess flour from the rolled paratha, place it on the tawa, when bubbles appear, flip it to the other side.

8.Apply ghee to the flipped side.

9.Flip again and apply ghee to the other side. Keep flipping 2-3 times more till both sides are well roasted and get crisp golden brown spots. A fluffed up paratha is a sign that it’s well cooked.

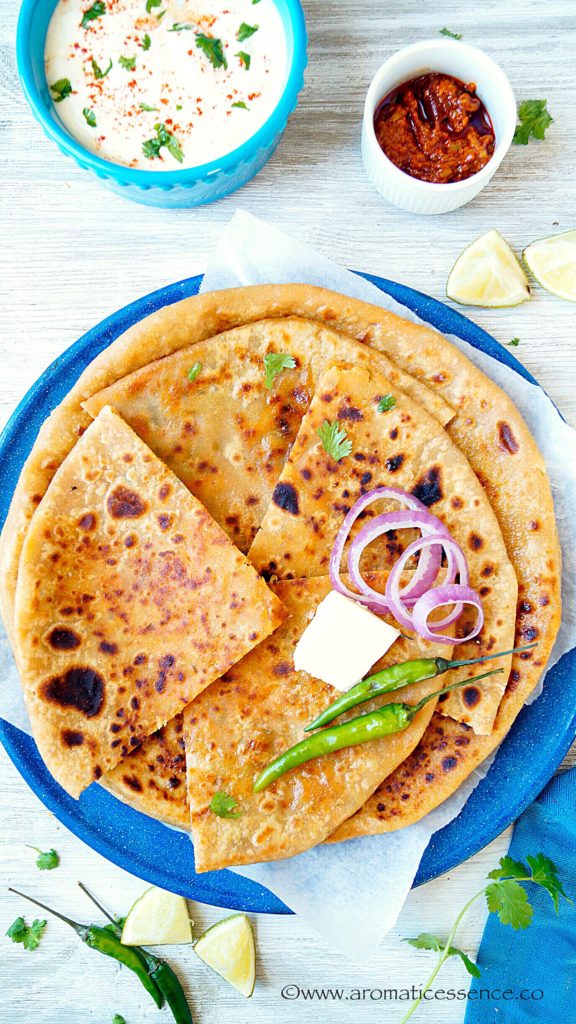
10.Serve hot with yogurt/ pickle. Store them in the casserole/aluminum foil to keep them soft if serving later.
HOW TO MAKE PANEER PARATHA?
Paneer Paratha | How To Make Paneer Paratha
Ingredients
Measuring cup used, 1 cup = 250 ml, 1 tsp = 5 ml
For the dough
- 2 & 1/4 cups atta (whole wheat flour)
- 1 tbsp oil
- Salt, to taste
- Water, as required to knead the dough
For the paneer stuffing
- 3 cups grated paneer, preferably fresh, homemade
- 1 tbsp finely chopped ginger
- 1 tsp roasted cumin powder
- 1 tsp Kashmiri red chilli powder
- 1/2 tsp garam masala
- 1-2 green chilli, finely chopped
- 1/4 cup finely chopped cilantro/coriander leaves
- 1/2 tsp lemon juice/amchur/anardana powder
Other ingredients
- Ghee/oil, as required for roasting the paratha's
Instructions
- In a large mixing bowl, add whole wheat flour and salt. Make a well in the center, add oil. Add water in increments and knead to make a soft dough, approx 1 cup water. Cover with a damp kitchen napkin and set aside for 30 minutes.
- To the grated paneer, add all the ingredients listed under for the paneer stuffing.
- After 30 minutes, knead the dough for another 1-2 minutes. Take one dough ball, dust it in some flour, roll it to a diameter of 4-5 inches, place 2 tablespoons of the paneer stuffing in the center.
- Gather the edges and seal the dough in such a way that the paneer stuffing is well covered. You can pinch off excess dough. Place the stuffed dough seam side down.
- Sprinkle flour on the work surface, roll the ball to about 8 inches in diameter, ensuring that the stuffing does not come out.
- Heat a tawa/cast iron skillet over medium-high heat. Dust off excess flour from the rolled paratha, place it on the tawa, when bubbles appear, flip it to the other side.
- Apply ghee to the flipped side.
- Flip again and apply ghee to the other side. Keep flipping 2-3 times more till both sides are well roasted and get crisp golden brown spots. A fluffed up paratha is a sign that it's well cooked.
- Serve hot with yogurt/ pickle. Store them in the casserole/aluminum foil to keep them soft if serving later.*
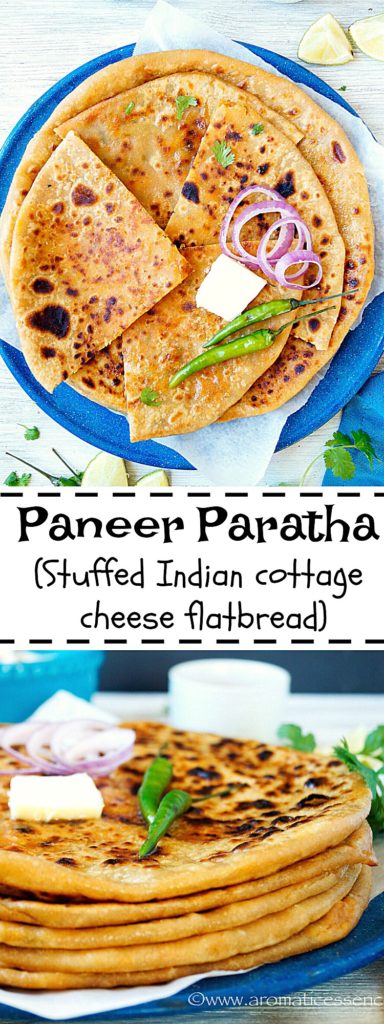
PIN IT FOR LATER
I would love to hear from you, please feel free to share your feedback with photos and suggestions to me at aromaticessence77@gmail.com
You can also follow me on :
Facebook @ Aromaticessence
Pinterest @ Aromatic Essence
Instagram @ aromatic_essence77
Regards,
Freda
Loved it!
Paneer Paratha
Glad you did, Ashwini 🙂
What a beautiful looking paneer paratha recipe! Very well explained 👆💗👍
Yum yum..So delicious , easy and quick .. beautiful photography..
Yummyyyy